What is it?
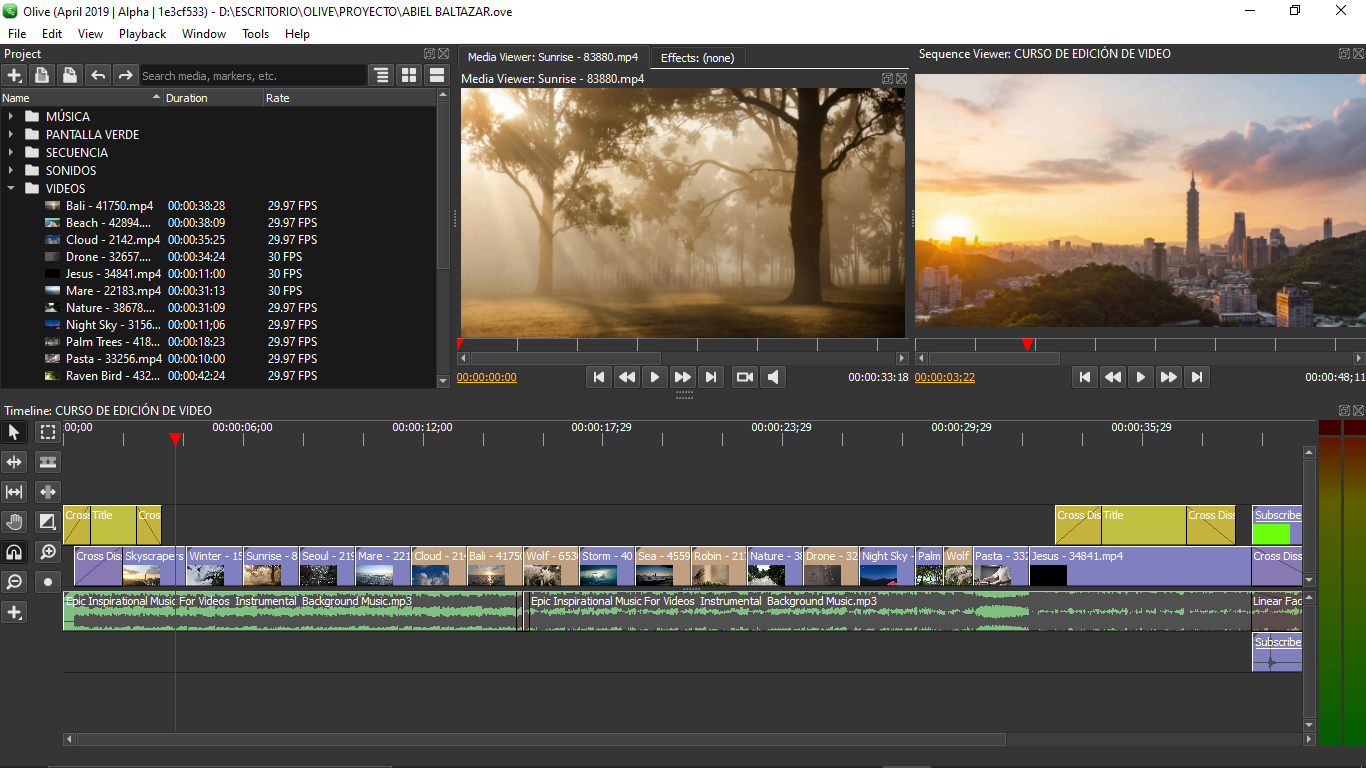
Our video editing course is designed with all the basics of editing in an easy to understand way. Our course uses the Olive program, an open source software developed by independent programmers (Olive Team) in order to combine everything a video editor requires in a single program. Olive is a totally free program and very easy to download, plus it is a perfect program for beginners in the field of video editing with professional tools. Likewise, Olive is a light program in technical terms that does not require a computer with a lot of technical capacity for its use compared to other programs on the market. Our goal is to teach students to master the basics of video editing in a very simple and at the same time very complete way through a series of lessons where they can learn step by step all the theoretical and practical concepts that are required to become in good video editors.
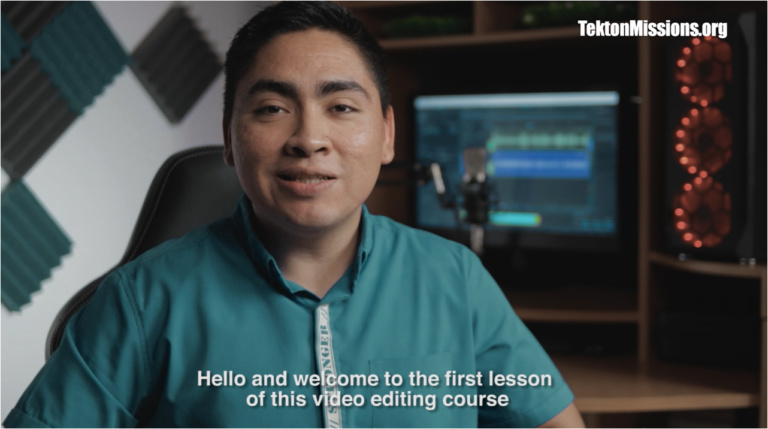
As part of the class, the videos were pre-recorded and included in each of the lessons. Each lesson contains a video with everything necessary to teach this course (Presentation of theory, basic concepts, exercises and a biblical message). One of the unique things about our video editing course is that all the videos are made in Spanish. It is a unique opportunity for children to learn programming in their native language, taught by someone from Mexico. But do not worry! The videos have English subtitles, making it easy for non-Spanish speakers to follow along and learn as well.
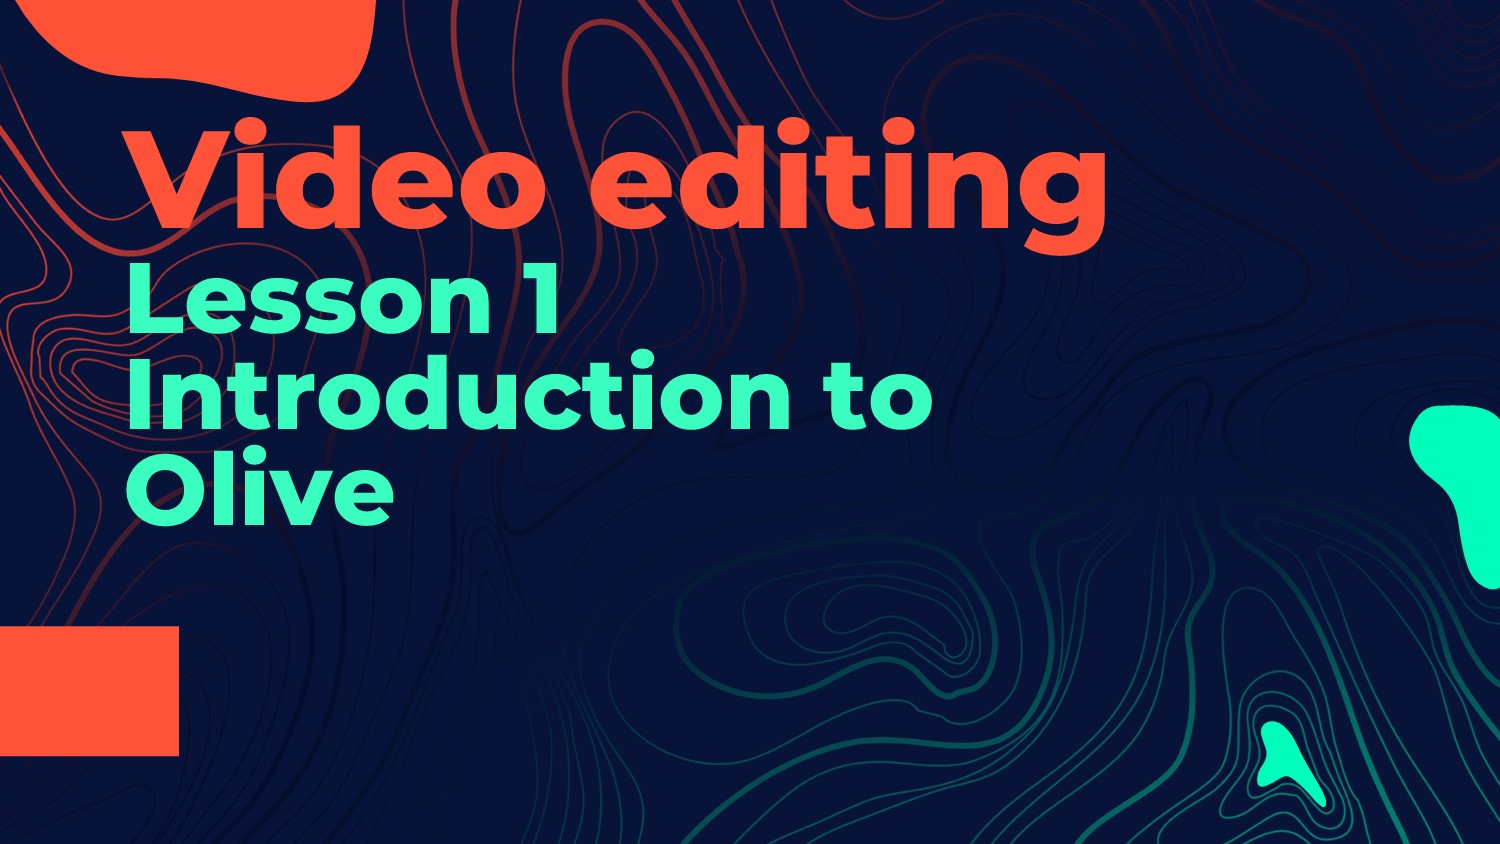
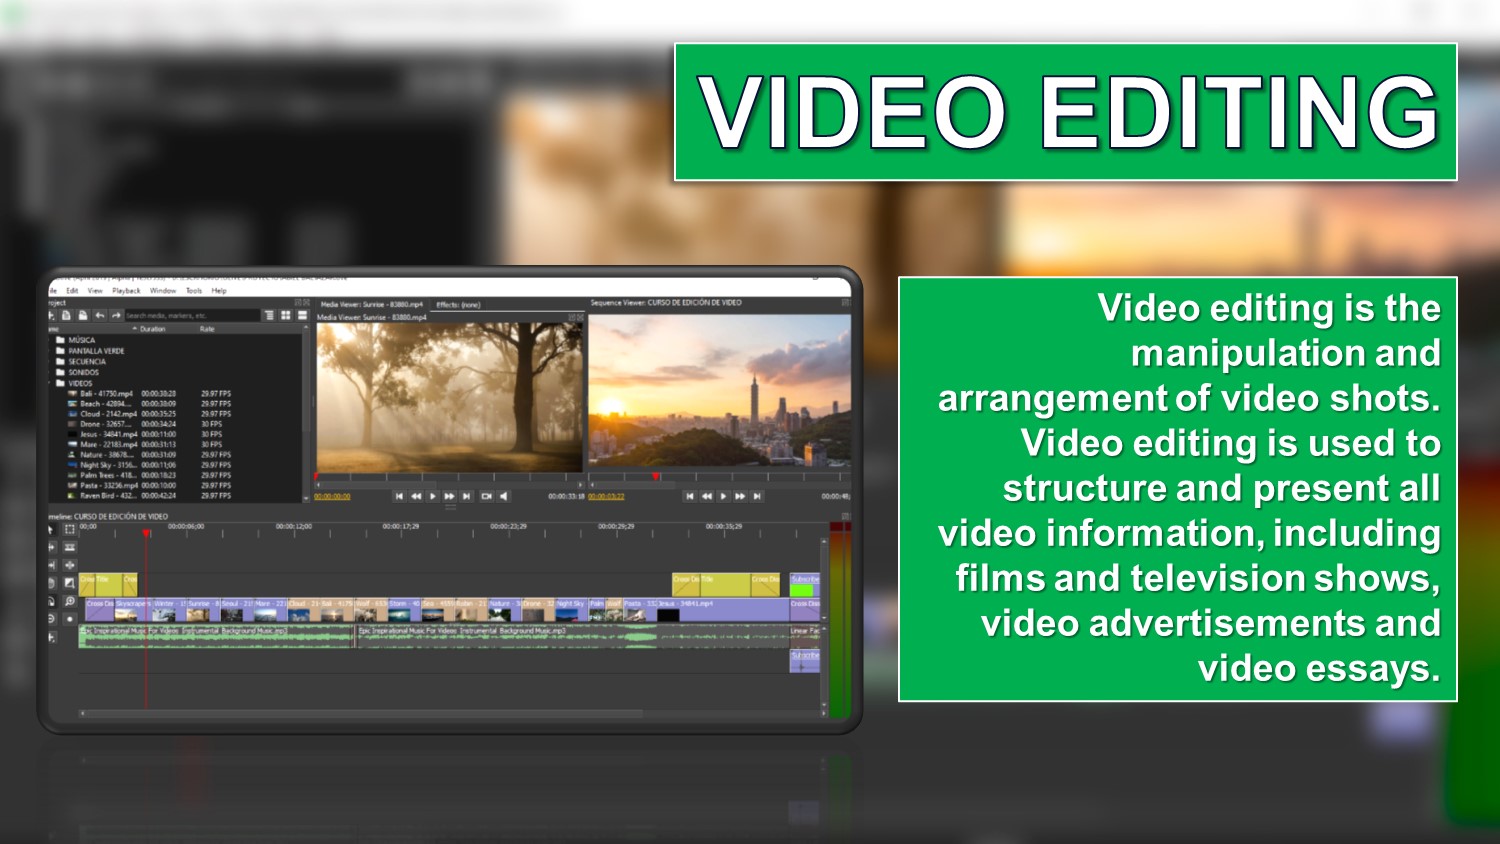
The course is divided into six lessons. The first is an introductory lesson that prepares students to learn from scratch. The next five lessons cover different video editing concepts, and the difficulty of application increases as students progress through the course. Each lesson has PowerPoint presentations with the necessary theory for this course, as well as practical exercises that will be carried out step by step in order to better understand and also has a brief biblical teaching.
English and Spanish versions are included in the course to allow people who speak both languages to prepare for and teach the course.
The PowerPoints are divided into two sections, the teacher section and the student section. The teachers section contains instructions and all the information needed to teach students in an informed and efficient manner. It also contains some "homework" for teachers to make sure they understand the material they are teaching. The student section contains detailed descriptions of each of the blocks and what they do, as well as instructions on when to watch the instructional videos.
Our program is designed for full use without the need for a network connection. Each video and presentation, as well as the Olive program, can be downloaded in advance and used without an Internet connection. This feature was intentionally planned to allow this course to be delivered in more remote areas that might not have consistent internet.
Why Olive?
We chose Olive for this course for several reasons. One of the main reasons is that the program is lightweight and can be used on almost any quality of computer. It's easy to download and set up, even for someone who has never done it before.
Second, Olive is a completely free program. This feature makes it incredibly easy for anyone to download and use it in a matter of minutes.
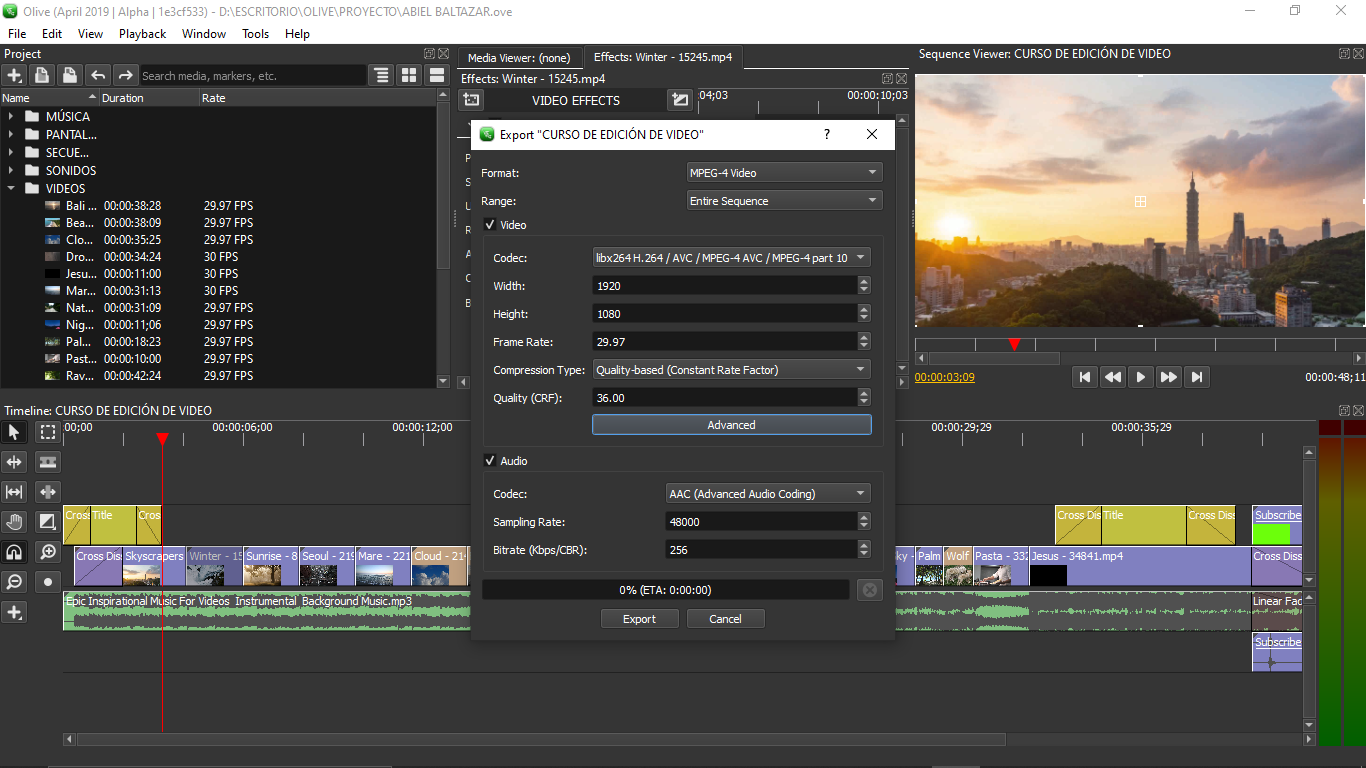
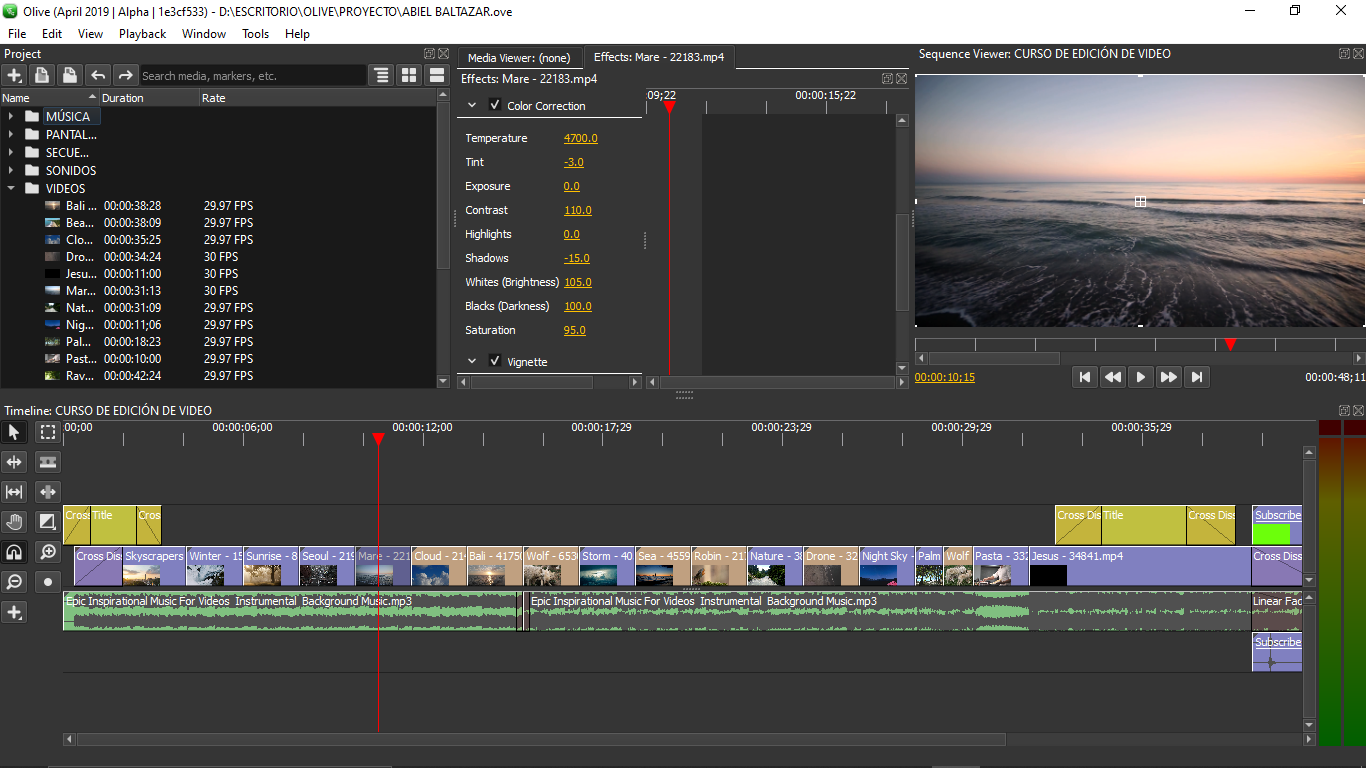
And third and last, this course is aimed at middle and high school students. Often these children will not be very familiar with a computer. Olive is designed to combat this problem. Its interface is intuitive and easy to understand, perfect for beginners in video editing and it also has more professional tools such as the color correction effect, audio monitoring, etc.